Back to San Jacinto Monument Page
| Why San Jacinto? - Sam Houston was a 43-year-old Major General in
charge of the Texas Army in 1836. Houston discovered, from documents captured
with a Mexican courier, that General Santa Anna planned to move from
Harrisburg (a town that no longer exists about 11 miles west of the site) to
New Washington (part of present day La Porte). The Mexican General was pursuing
interim Texas President David G. Burnet and
other members of the new Texan Government, who narrowly escaped him on April
19. Houston anticipated General Santa Anna's next move would be to cross the
San Jacinto River, where it joins Buffalo Bayou, on Nathaniel Lynch's Ferry.
This ferry crossing roughly corresponds to the site of the present Lynchburg
Ferry. Houston reasoned that since the General only had about 700 to 1,000 men
with him, instead of his entire army, Houston's army of less than 800 Texans
faced acceptable odds.
Map of Texian Movements on the San Jacinto Battleground
Battleground imagemap, click a number to view photos  A Texas Army veteran laid out the sites in 1894 for the 20 stone markers
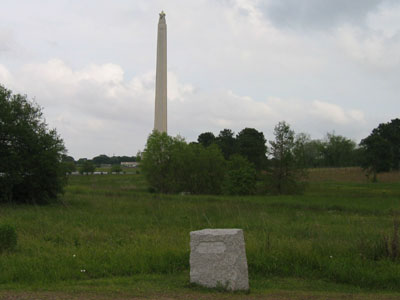
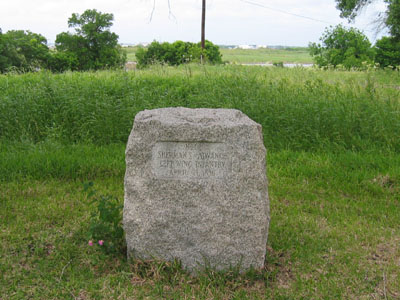
that indicate key battle locations. Stone Marker 14 is not listed on the map and unknown. Approach to San Jacinto and Encampment - On April 20, a detachment of Texas cavalry reconnoitering the route to Lynch's Ferry captured a flatboat full of provisions, staged for use by Santa Anna's men near the ferry landing. The Texas Army arrived near this spot about 11:00 AM on April 20. They had marched through mud all night from Harrisburg, which the Mexicans had burned. The last part of their route approximated coming north to enter the site on the present Highway 134. The morning of April 20 was cold and gray. Stone Marker 5 indicates were Sidney Sherman's 2nd Volunteer Regiment camped. | |
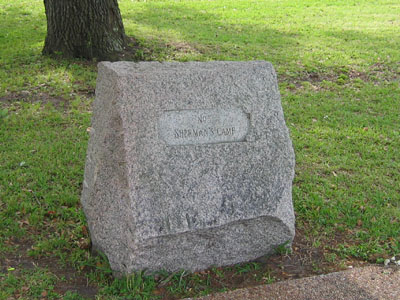 Stone Marker 5 - Sherman's Camp (map) |
 Volunteers camp near the bathrooms & battleship |
|
Sherman's men were at the northern end of a campground that extended south for
about 500 yards along the wooded banks of the Buffalo Bayou. Here the Texans
had water, cover and concealment among the trees, captured Mexican provisions,
and, soon after their arrival, cattle foraged from the widow Peggy McCormick's
ranch on which the camp was located. Recognizing the Texans might have to
retreat if attacked in force, Houston had barges and rafts his men found along
the shore moored near the camp so they could be used for escape across Buffalo
Bayou, which was then about 250 yards wide. There were very few tents in the
Texans' camp, possibly only one for General Houston. After the events of April
20, the Texans slept on the muddy ground in blanket rolls around 20 or 30
campfires. Initial Engagement and Mexican Withdrawal - A second detachment of Houston's cavalry had been sent to New Washington to reconnoiter Santa Anna's movements. This detachment found the Mexicans had burned the town and were advancing toward Lynch's Ferry. The Mexican Army arrived at site Marker 11 about noon. | |
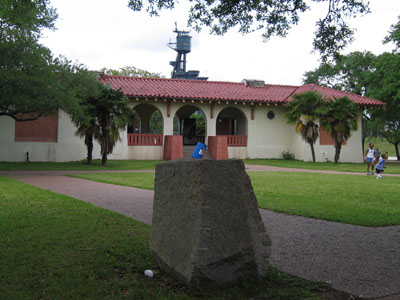
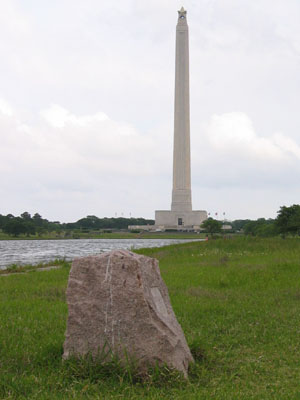
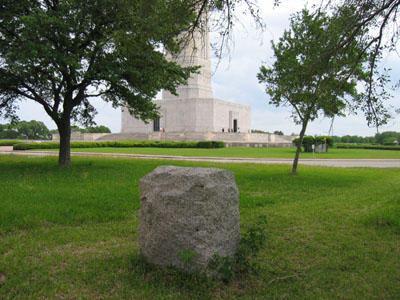
 Stone Marker 11 - Mexican Position - April 20th |
 South of the monument near main gate (map) |
| Santa Anna had his only artillery piece, a 12 pounder called "The Golden
Standard", open fire on the Texans from high ground to the south
of the mid-point of the present day reflecting pool. He also
sent a company of infantry to fire on the Texans from a position near the
northwest corner of the present day reflecting pool. The "Twin Sisters", the Texans' two 6-pounder
cannon, loaded with grape shot and
broken horseshoes, drove the Mexican infantry back. When the
Mexican Army withdrew, it made camp about 3/4 of a mile east-southeast of the
Texans' camp, beyond the present day monument. Marker 1 indicates where the Texan's artillery, under George Washington Hockley, camped. The Texan's two cannon, the "Twin Sister's", had been donated by the City of Cincinnati, Ohio. They were allegedly named after two young ladies on the steamboat that transported the guns down the Mississippi River in crates marked "hollow ware." Houston received the cannons only 2 weeks before the battle and the Texans were so short of powder that they did not test fire the weapons before they saw action. The small cannons near stone Marker 1 don't resemble the original "Twin Sisters", which were probably cast with several raised rings around their barrels and flared muzzles and mounted on wagon wheeled carriages with twin, parallel trails surmounted by ammunition boxes. Houston's headquarters was near Hockley's camp. | |
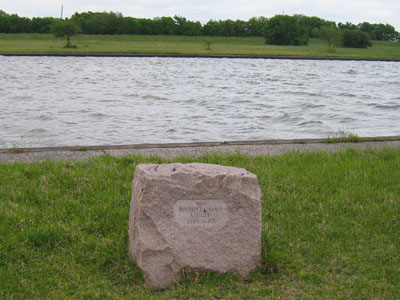
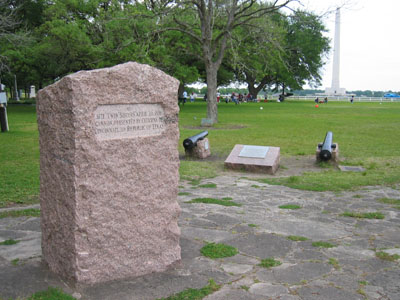 Stone Marker 1 - Hockley's Camp (map) |
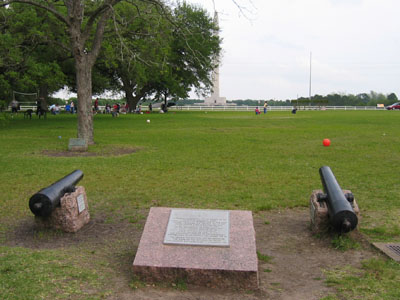 Hockley commanded the "Twin Sisters" cannons |
| Stone Marker 2 marks the site where Edward Burleson's 1st Texas Volunteer Regiment camped. volunteers generally wore civilian attire and were armed with a variety of weapons. | |
 Stone Marker 2 - Burleson's Camp (map) |
 Burleson's volunteers camped behind the cannons |
| Stone Marker 3 indicates where Henry Millard's Regiment of Texas Regulars camped. Regulars were recruited by the Texas government, issued uniforms and model 1816 Harper's Ferry smoothbore flintlock muskets with bayonets. | |
 Stone Marker 3 - Millard's Regular Infantry Camp |
 Camped between the cannons and calvary (map) |
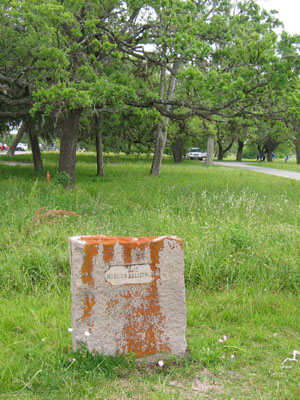
| Stone Marker 4 indicates the approximate location of Mirabeau B. Lamar's Camp on the right flank of the Texas Army. There were approximately 60 men in the Texas Cavalry during the battle. | |
 Stone Marker 4 - Lamar's Calvary Camp (map) |
 Lamar gets mentioned after his heroic deed. |
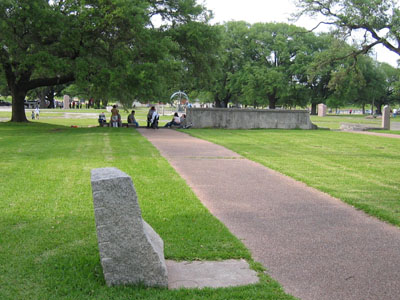
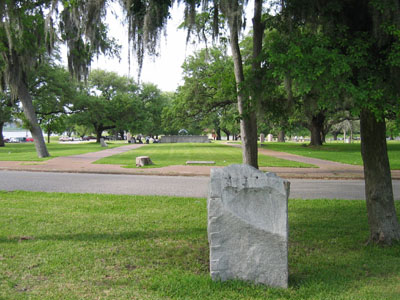
| Initial Cavalry Action and Lamar's Promotion to Command - On the afternoon of April 20, Santa Anna sent his cavalry to cover the withdrawal of the "Golden Standard" toward his camp. Responding to repeated requests by Sherman to let him try to capture the Mexican cannon, shortly before sundown Houston finally let Sherman lead a cavalry detail to reconnoiter the Mexicans. A skirmish ensued between the cavalry units. The Mexicans used standard cavalry tactics in a disciplined manner. The Texans were disorganized and suffered their first mortal casualty, Olwyns J. Trask. Another man was wounded and several horses were killed. The Texans fell back in disarray. Private Lamar, heroically rescued several Texans, including Secretary of War, Thomas J. Rusk and 19-year-old Walter Paye Lane, who had lost their mounts. Lamer's heroism resulted in a salute from the Mexicans, a promotion to Colonel, and command of the Texas Cavalry. The site of the cavalry skirmish on April 20 is indicated by Marker 12. | |
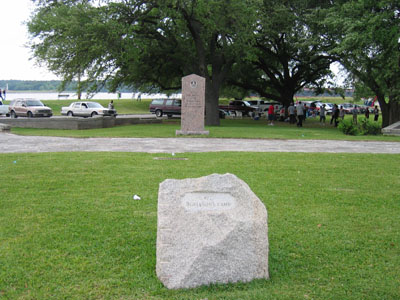
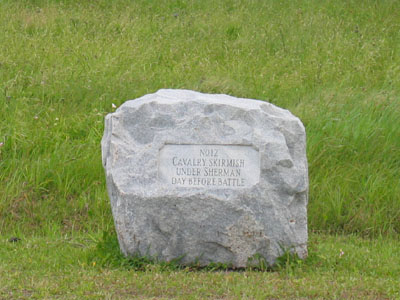 Stone Marker 12 - Calvary Skirmish Under Sherman
Attempt to capture Mexican cannon failed miserably |
 Calvary skirmish occured April 20th |
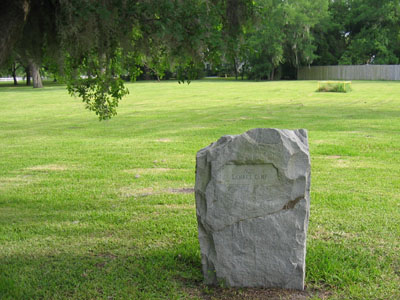
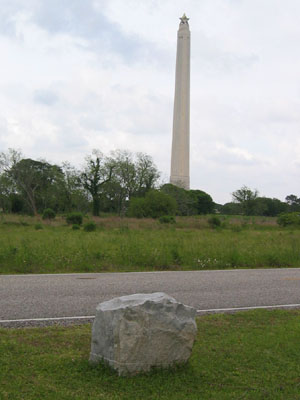
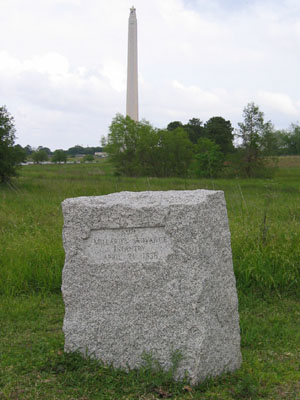
| Advance under Texas Secretary of War Thomas Jefferson Rusk, Marker 8, after the calvary skirmish. | |
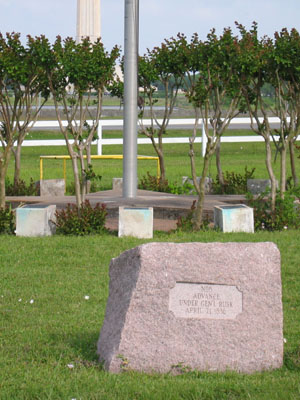 Stone Marker 8 - Rusk's Advance (map) |
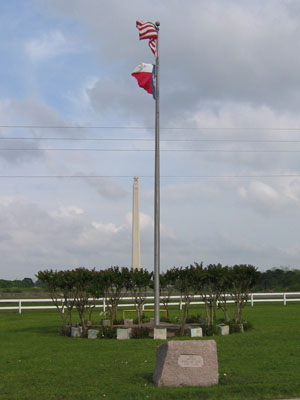 Rusk advanced here, thanks to Lamar |
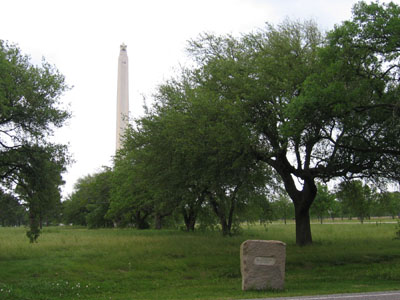
| APRIL 21, 1836 About 9:00 AM, about 540 additional Mexican troops arrived at the Mexican camp. About noon Houston called his officers together for a council of war. Although nothing definite was resolved, Houston knew that his men were disgruntled by the long retreat and lack of vengeance for Santa Anna's slaughter of Texans at places like the Alamo and Goliad. In 1836, the battleground was the north pasture of the widow Peggy McCormick's ranch. The vegetation then was a mixture of marsh grass in low lying areas and tall prairie grass on higher terrain with clumps of live oaks in areas like the Texas and Mexican Army camps. The vegetation and a lack of Mexican scouts or pickets, helped the Texans to remain unobserved as they approached the Mexican camp. Millard's infantry advanced toward the Mexican camp to Marker 9 and Hockley's artillery advanced to Marker 10. | |
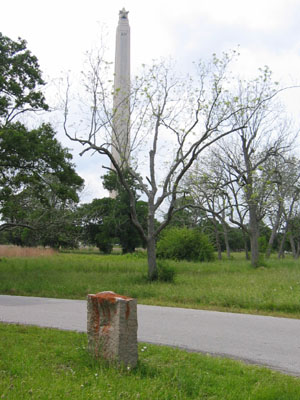
 Stone Marker 9 - Millard's Advance |
 Millard's infantry snuck through much higher grass than pictured (map) |
 Stone Marker 10 - Hockley's Advance (map) |
 The Twin Sisters took this path |
| In the vicinity of the hidden Marker 7 lies the route of Burleson's Advance as part of the Texans' center with Hockley's artillery and Millard's regulars. Still farther away, over the edge of the bluff, Sherman's men advanced toward the Mexican camp, unseen even by the rest of the Texan's. Marker 6, indicating their advance, is north of the monument. Off to the right, Lamar's cavalry advanced over the same ground where they had skirmished the day before. | 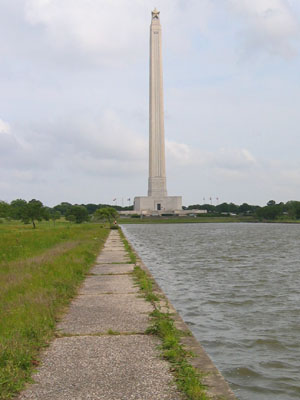 Unfound Marker 7 - Burleson's Advance (map) |
 Stone Marker 6 - Sherman's Advance |
 Sneak up on the monument at Marker 6 (map) |
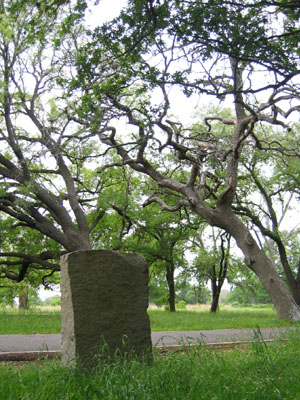
| Proceed to the San Jacinto Monument, keeping the reflecting pool
on your left. You may notice headstones on the ridge to your right. These mark
the graves of people who lived in the area well after the battle, and have
nothing to do with the events of 1836. The relatively high, level ground
southwest of the monument is about 100 yards short of the point where the
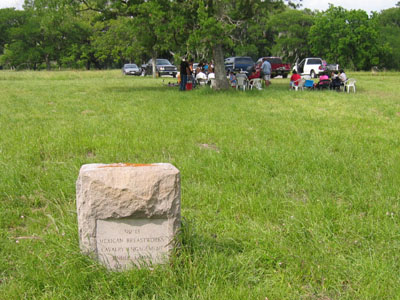
Texans were detected by the Mexicans, roughly 200 to 300 yards away. The Mexican Camp, Marker 15, pitched numerous tents in formation, which covered the high ground with marshes to the north and east. When Santa Anna encamped on the night of April 20 he realized the Texans had almost the same number of men as he had under his immediate command since most of his army trailed behind him. He had sent for reinforcements, but must have been concerned that the Texans might overrun his position before the reinforcements arrived. Santa Anna ordered a breastworks, improvised from his army's baggage, erected around the camp so his men would have some cover, posted sentries, and ordered his troops to rest in battle formation with their weapons at hand. Santa Anna expected the Texans to attack at dawn. They did not. Instead, Santa Anna's brother-in-law, General Martin Perfecto de Cos arrived with approximately 540 troops at about 9:00 AM. Although the reinforcements weren't the capable veterans Santa Anna had requested, they gave the Mexican Army a nearly 2:1 numerical advantage over the Texans. The newly arrived troops camped near here on the northern or right flank of the Mexican camp and slept after their march. Santa Anna probably thought that since the Texan's had not attacked early in the morning they would not attack at all after the odds shifted against them with the arrival of the reinforcements. Mexican units stacked their arms, played cards, cooked, ate, and relaxed, not bothering to keep sentries posted. | |
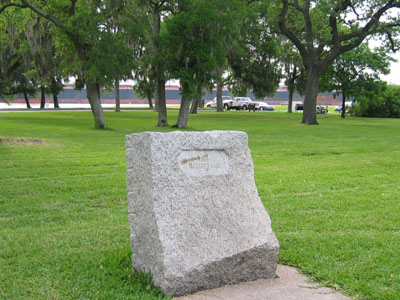
 Stone Marker 15 - Mexican Camp (map) |
 Marker 15 makes an excellent napping spot |
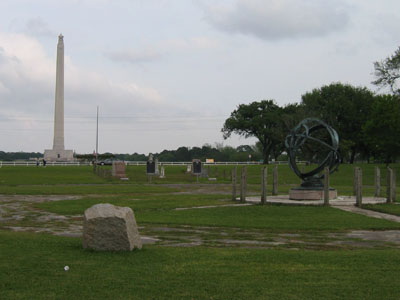
| The Texans Charge toward the center of the Mexican Army's line and the location of their only artillery piece, the "Golden Standard", marker 18. The Texan's central forces struck from just to the left of the monument. | 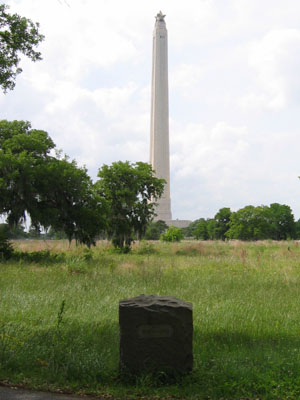 Stone Marker 18 - Site of Mexican Cannon (map) |
| Cavalry Diversion on the Texans' Right Flank According to Houston's plan, Lamar's cavalry was to advance over open ground toward the Mexican cavalry posted near Marker 13 on the Mexican's left flank. Houston's intent was to have the cavalry divert the Mexican's attention to give his infantry time to close in undetected. | |
 Marker 13 - Calvery Engagement under Lamar |
 Stone Marker 13 makes a great picnic site (map) |
| Sherman Initiates Contact on the Mexican's Right Flank where the Mexican reinforcements, that arrived at 9:00 AM, camped near Marker 15, and went to sleep. Colonel Sherman's volunteers had advanced out of sight below the bluff at the edge of the marsh. When they emerged they were so close that the sleepy Mexicans had little or no time to unstack their muskets and form a defense. General Cos' camp was overrun and some of its routed occupants fled toward the Mexican center, spreading disorganization and panic. | |
 | |
| The Center of the Texas Army line, including Millard's regulars, Hockley's artillery, and, Burleson's volunteers, led by Houston, came up over the ridge at 4:30pm just to the left of the monument and advanced to within 200 or 300 yards of the Mexican lines before Santa Anna's men noticed them. According to Houston's account, the "Twin Sisters" took station about 200 yards from the Mexican breastwork and "commenced an effective fire with grape and canister", subsequently advancing the cannons until they were about 70 yards from the "Golden Standard", firing until the Mexican cannon, loaded but unfired for a third round, was captured by the Texas infantry. Houston's narrative continues, "Colonel Sherman, with his regiment, having commenced the action on our left wing, the whole line at the center and on the right advancing in double quick time, raised the war cry, "Remember the Alamo!", received the enemy's fire, and advanced within point blank shot, before a piece was discharged from our lines." According to some, a few Texan's played "Will You Come to the Bower?", a popular song of the day, on fifes and a drum. Once the action commenced, the Texans fired individually, paused to reload, and fired again as they advanced, until the fighting was hand-to-hand along the Mexican breastworks. Houston was mounted and directed his men despite having two horses shot from beneath him. The musket ball that struck his second horse passed through Houston's right ankle, Marker 19. This is probably not the right location since it is about 90 yards away from the Mexican lines; beyond the effective musket range. Disregarding his wound, Houston mounted again and resumed his direction of the Texas Army. The Mexican breastworks were breached by Burleson's volunteers and Millard's regulars. The Mexican Army had been trained to form ranks and fire on command, so that one rank could fire while another reloaded, thus keeping up a series of volleys. Some of the Mexican troops in the center managed to fall in ranks, but there was little time to react when the enemy appeared so suddenly and came on so fast. The "Golden Standard" only had time to get off 2 rounds. | |
 Stone Marker 19 - General Sam Houston Wounded |
 Stone Marker 19 lies beyond the Monument and before the Mexican Camp (map) |
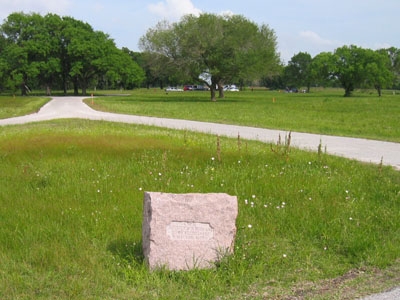
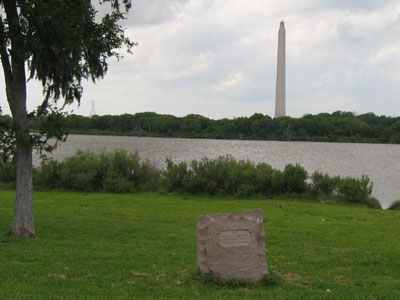
| The Mexican Left Collapses in the vicinity of Marker 13. Colonel Lamar's cavalry surprised the Mexican cavalry and routed them, scattering unmounted horses through the camp and adding to the panic and confusion. General Santa Anna emerged from his tent, Marker 16, and, according to his subordinates, wrung his hands but didn't give orders to mount an effective defense. He mounted a nearby horse and fled toward the road to the Brazos River. Most of the fighting was over in about 18 minutes. | |
 Stone Marker 16 - Santa Anna's Camp (map) |
 Hidden in the top background is the Monument |
| The Mexicans dropped their weapons and fled in the face of the Texans' onslaught
The terrain to the north and west of the Mexican camp in 1836 was a bog and
Mexican soldiers trying to get to away were mired down. The Texans,
seeking vengeance for the Texans killed by the Mexican Army at places like the
Alamo and Goliad, shot, clubbed, and stabbed the Mexican soldiers, ignoring
their cries for mercy, "Me no Alamo! Me no Goliad!" Houston and other officers
and men tried in vain to stop the slaughter. Houston knew he must regroup his men and organize the Texas Army in
case Santa Anna returned with reinforcements. The End near Marker 17, Colonel Juan Almonte, Santa Anna's aide, rallied a group of Mexican soldiers for a last stand. Despite their courage, the Mexicans were soon overwhelmed. After about 90 minutes of carnage, just before sunset, Houston regained control of the Texans. About 700 Mexicans soldiers were captured, about 200 were wounded, and about 630 were killed. | |
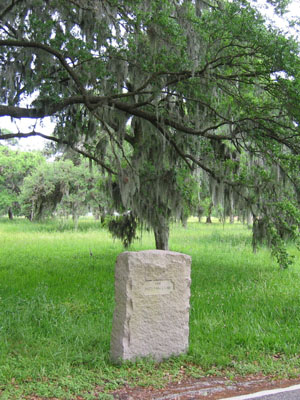
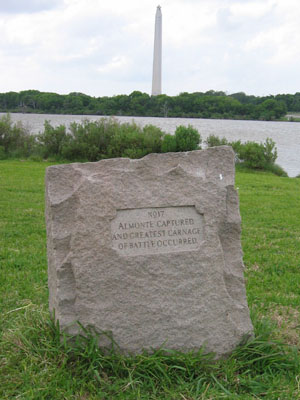 Stone Marker 17 - Almonte Captured (map) |
 Stone Marker 17 lies across the marsh away from the Mexican Camp |
| Santa Anna's Surrender - After the battle, General Santa Anna was among the few Mexican soldiers who avoided death or capture. Houston sent scouts to round up the fleeing Mexicans. He realized that if Santa Anna managed to escape he might lead the 3,000 to 4,000 Mexican troops still west of the Brazos River against the Texans. Before noon, Texans under Sergeant James Sylvester, captured a man wearing a Mexican private's uniform near the site of Vince's Bridge, just north of present day Pasadena. When this man was brought, under guard, past some of the 700 other Mexican prisoners, the Mexicans saluted and referred to the private as "El Presidente!", revealing the new prisoner to be General Santa Anna. General Houston had been stuck in the ankle by a Mexican musket ball and was unable to walk. He was lying beneath a live oak tree near the site of Marker 20 when General Santa Anna was brought before him. Santa Anna agreed to cease hostilities and order his remaining troops to withdraw from Texas. |  Stone Marker 20 - Site of Santa Anna Surrender (little Anna surrenders to the camera) (map) |
Aftermath for the Mexicans - Many of the Mexican prisoners eventually returned to Mexico, but some stayed and became Texas citizens. The bodies of the Mexican soldiers remained where they fell through the summer despite the Widow McCormick's pleas that the Republic of Texas clear her ranch of the corpses. Local ranchers finally buried the Mexican dead in a common grave, the location of which is unknown. As we learned earlier on our hike, Santa Anna was captured the day after the battle and forced to order the remainder of his army to return to Mexico. After his meeting with Houston, Santa Anna was taken to Velasco where he signed a treaty with the Republic of Texas. He eventually returned to Mexico via Washington, DC and New Orleans, where he boarded a ship and went back to Mexico. He remained a powerful figure in Mexico, finally dying in 1876 at the age of 82. Aftermath for the Texans - Nine Texans had been killed. A makeshift hospital was set up across Buffalo Bayou from where the Texans had camped at Lorenzo de Zavala's plantation. When the Houston Ship Channel drowned de Zavala's plantation many years after the battle, the de Zavala family graveyard was moved to a location just east of the sundial marking the Texan's camp. Houston turned command of the Texas Army over to Rusk on May 5 and sailed to New Orleans via Galveston for medical treatment. He returned to Texas in August and was elected President of the Republic, being inaugurated at Columbia in October. Houston died in 1863 at age 70. Significance of the Battle - Although there was continued strife between the Republic of Texas and Mexico, and the U.S. and Mexico went to war from 1846 to 1848 following Texas's admission as a state in 1845, the victory at San Jacinto ultimately led to the inclusion of Arizona, California, New Mexico, Nevada, Texas, and Utah, as well as parts of Colorado, Kansas, Oklahoma, and Wyoming in the U.S. This equates to nearly 1,000,000 square miles or roughly 1/3 of the nation's landmass. | |
Back to San Jacinto Monument Page